设置CI
简介
Playwright测试可以在任何CI提供商上运行。本指南介绍了使用GitHub Actions在GitHub上运行测试的一种方法。如果您想了解更多信息或如何配置其他CI提供商,请查看我们详细的持续集成文档。
你将学习到
设置GitHub Actions
当通过VS Code扩展或使用npm init playwright@latest安装Playwright时,您可以选择添加一个GitHub Actions工作流。这会在.github/workflows文件夹内创建一个playwright.yml文件,包含您所需的所有内容,以便您的测试在每次推送和拉取请求到主分支时运行。以下是该文件的内容:
name: Playwright Tests
on:
  push:
    branches: [ main, master ]
  pull_request:
    branches: [ main, master ]
jobs:
  test:
    timeout-minutes: 60
    runs-on: ubuntu-latest
    steps:
    - uses: actions/checkout@v4
    - uses: actions/setup-node@v4
      with:
        node-version: lts/*
    - name: Install dependencies
      run: npm ci
    - name: Install Playwright Browsers
      run: npx playwright install --with-deps
    - name: Run Playwright tests
      run: npx playwright test
    - uses: actions/upload-artifact@v4
      if: ${{ !cancelled() }}
      with:
        name: playwright-report
        path: playwright-report/
        retention-days: 30
工作流程执行以下步骤:
- Clone your repository 2. Install Node.js 3. Install NPM Dependencies 4. Install Playwright Browsers 5. Run Playwright tests 6. Upload HTML report to the GitHub UI
要了解更多信息,请参阅"Understanding GitHub Actions"。
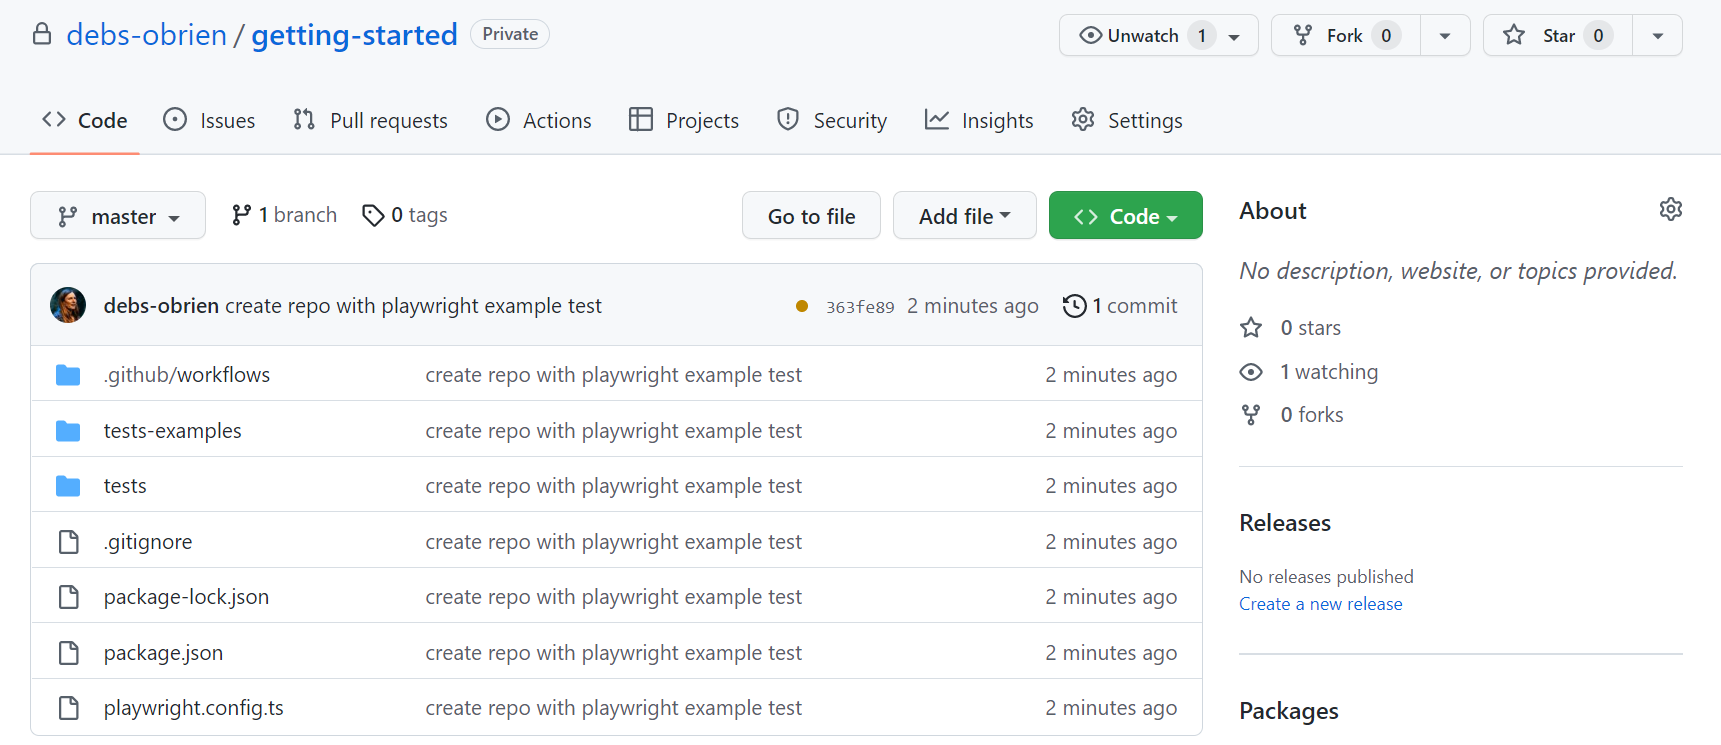
创建仓库并推送到GitHub
一旦你设置好了GitHub Actions工作流,接下来只需要在GitHub上创建一个仓库或将代码推送到现有仓库。按照GitHub上的指引操作,别忘了使用git init命令初始化git仓库,这样你就能添加、提交和推送你的代码了。
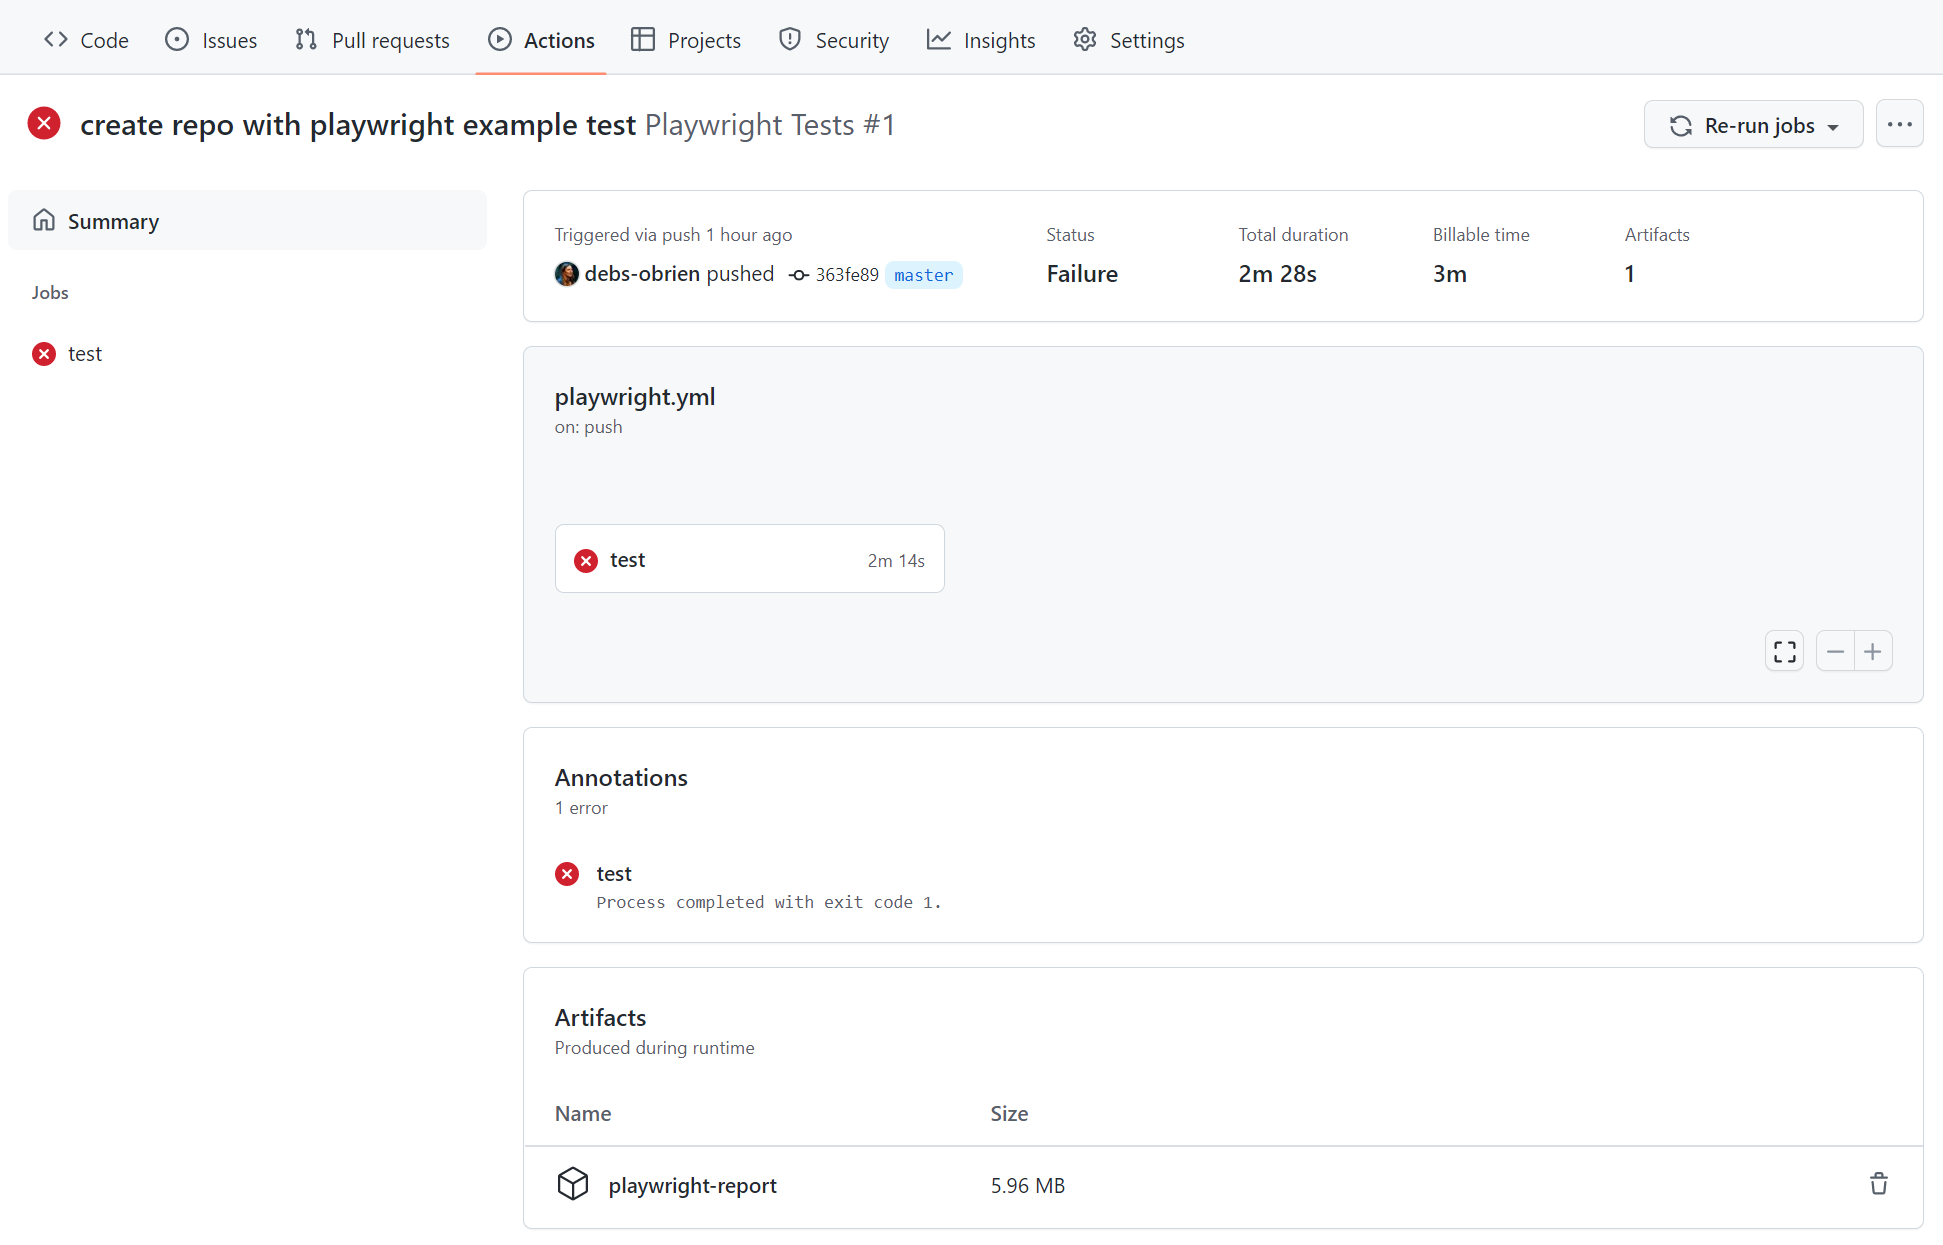
打开工作流程
点击Actions选项卡查看工作流程。在这里您可以看到测试是否通过或失败。
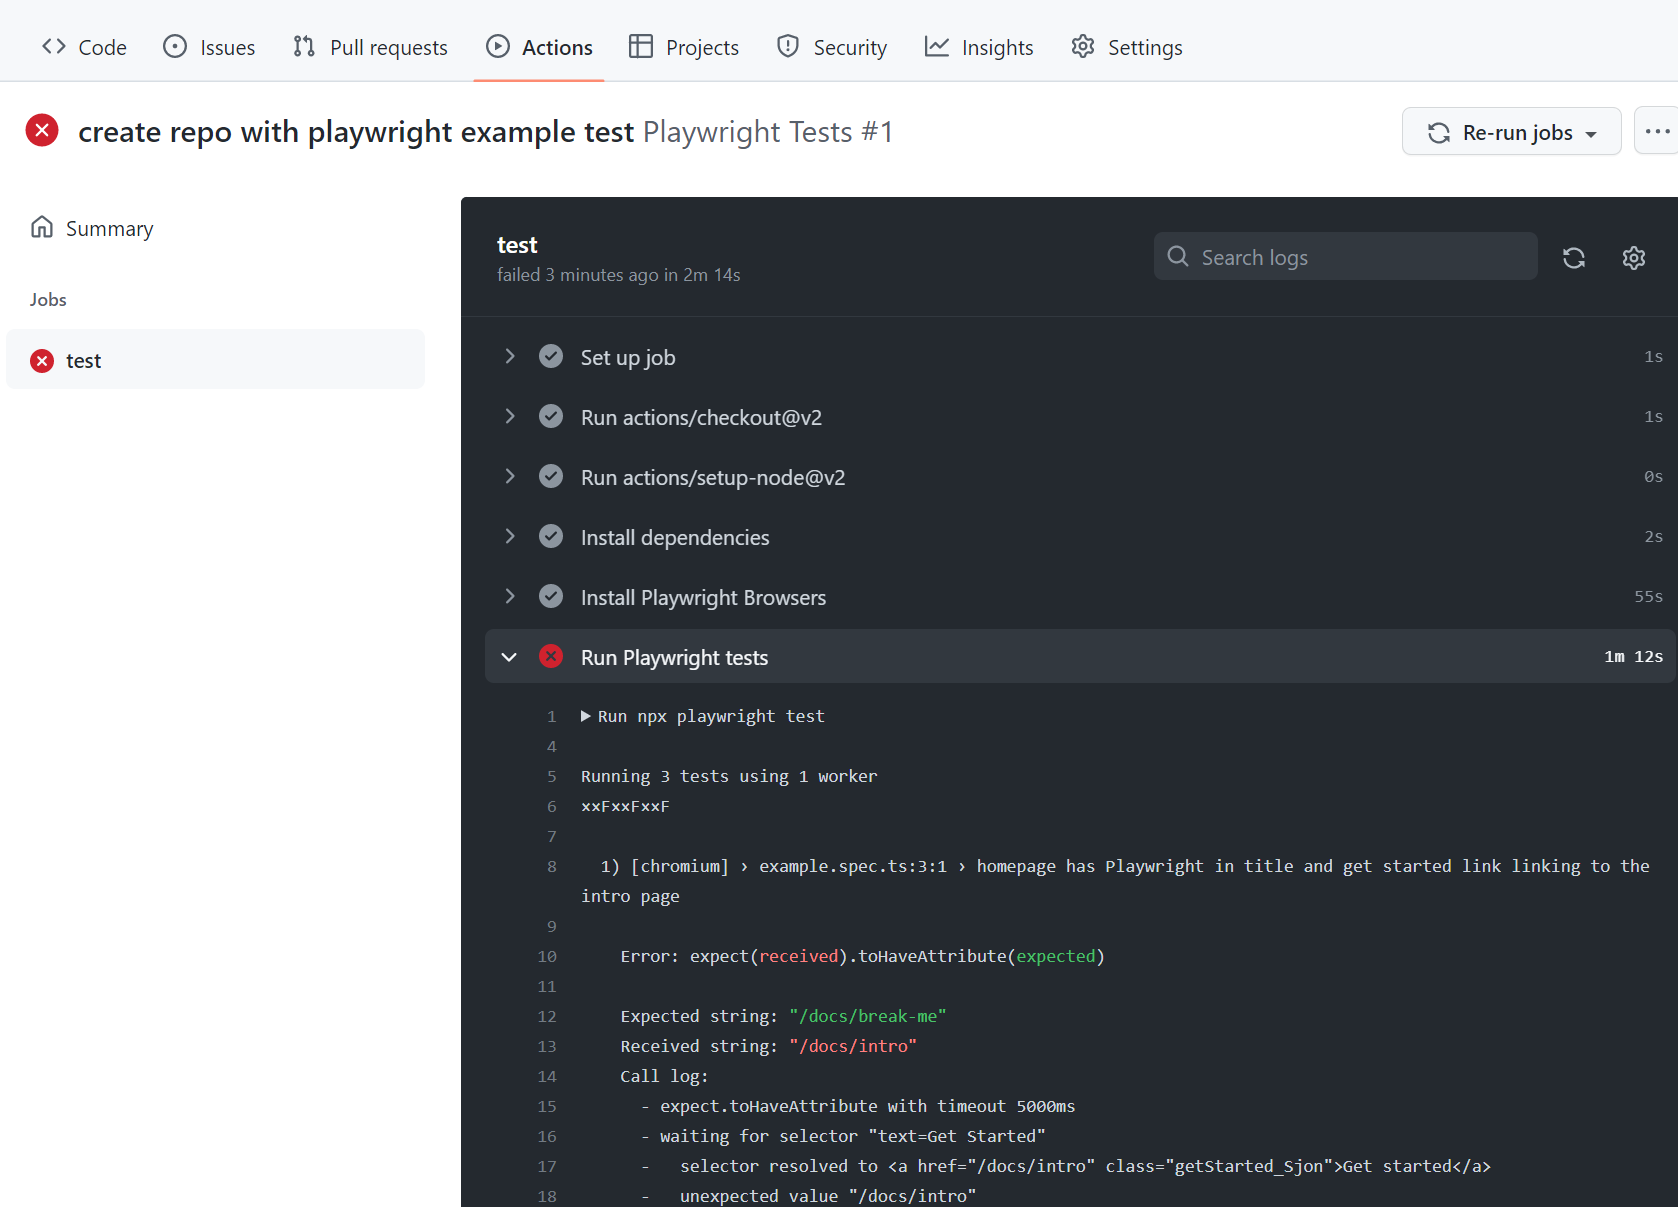
查看测试日志
点击工作流运行将显示GitHub执行的所有操作,点击运行Playwright测试将显示错误信息、预期结果与实际结果以及调用日志。
HTML Report
The HTML Report shows you a full report of your tests. You can filter the report by browsers, passed tests, failed tests, skipped tests and flaky tests.
Downloading the HTML Report
在Artifacts部分点击playwright-report以下载zip格式的报告文件。
Viewing the HTML Report
直接在本地打开报告将无法正常工作,因为需要一个网络服务器才能确保所有功能正常运行。首先解压zip文件,建议解压到已安装Playwright的文件夹中。通过命令行切换到报告所在目录,使用npx playwright show-report命令后接解压文件夹的名称。这将启动报告服务,使您能在浏览器中查看报告。
npx playwright show-report name-of-my-extracted-playwright-report
To learn more about reports check out our detailed guide on HTML Reporter
查看追踪记录
使用npx playwright show-report命令启动报告服务后,点击测试文件名旁边的跟踪图标(如上图所示)。然后您可以查看测试的跟踪记录,并检查每个操作以尝试找出测试失败的原因。
在网络上发布报告
Downloading the HTML report as a zip file is not very convenient. However, we can utilize Azure Storage's static websites hosting capabilities to easily and efficiently serve HTML reports on the Internet, requiring minimal configuration.
-
为存储账户启用静态网站托管功能。
-
在Azure中创建一个服务主体并授予其访问Azure Blob存储的权限。命令成功执行后,将显示用于下一步的凭据。
az ad sp create-for-rbac --name "github-actions" --role "Storage Blob Data Contributor" --scopes /subscriptions/<SUBSCRIPTION_ID>/resourceGroups/<RESOURCE_GROUP_NAME>/providers/Microsoft.Storage/storageAccounts/<STORAGE_ACCOUNT_NAME> -
使用上一步中的凭据在您的GitHub仓库中设置加密密钥。前往仓库设置,在GitHub Actions secrets下添加以下密钥:
AZCOPY_SPA_APPLICATION_IDAZCOPY_SPA_CLIENT_SECRETAZCOPY_TENANT_ID
有关如何使用客户端密钥授权服务主体的详细指南,请参阅此Microsoft文档。
-
Add a step that uploads the HTML report to Azure Storage.
.github/workflows/playwright.yml...
- name: Upload HTML report to Azure
shell: bash
run: |
REPORT_DIR='run-${{ github.run_id }}-${{ github.run_attempt }}'
azcopy cp --recursive "./playwright-report/*" "https://.blob.core.windows.net/\$web/$REPORT_DIR"
echo "::notice title=HTML report url::https://.z1.web.core.windows.net/$REPORT_DIR/index.html"
env:
AZCOPY_AUTO_LOGIN_TYPE: SPN
AZCOPY_SPA_APPLICATION_ID: '${{ secrets.AZCOPY_SPA_APPLICATION_ID }}'
AZCOPY_SPA_CLIENT_SECRET: '${{ secrets.AZCOPY_SPA_CLIENT_SECRET }}'
AZCOPY_TENANT_ID: '${{ secrets.AZCOPY_TENANT_ID }}'
可以通过使用网站的公共URL从浏览器访问$web存储容器的内容。
此步骤不适用于从分叉仓库创建的拉取请求,因为此类工作流无法访问密钥。