您可以在此处查看本教程的完整代码。设置您的API密钥您需要一个来自Anthropic Console的Anthropic API密钥。创建一个 将您的密钥添加到 将 完整的客户端将: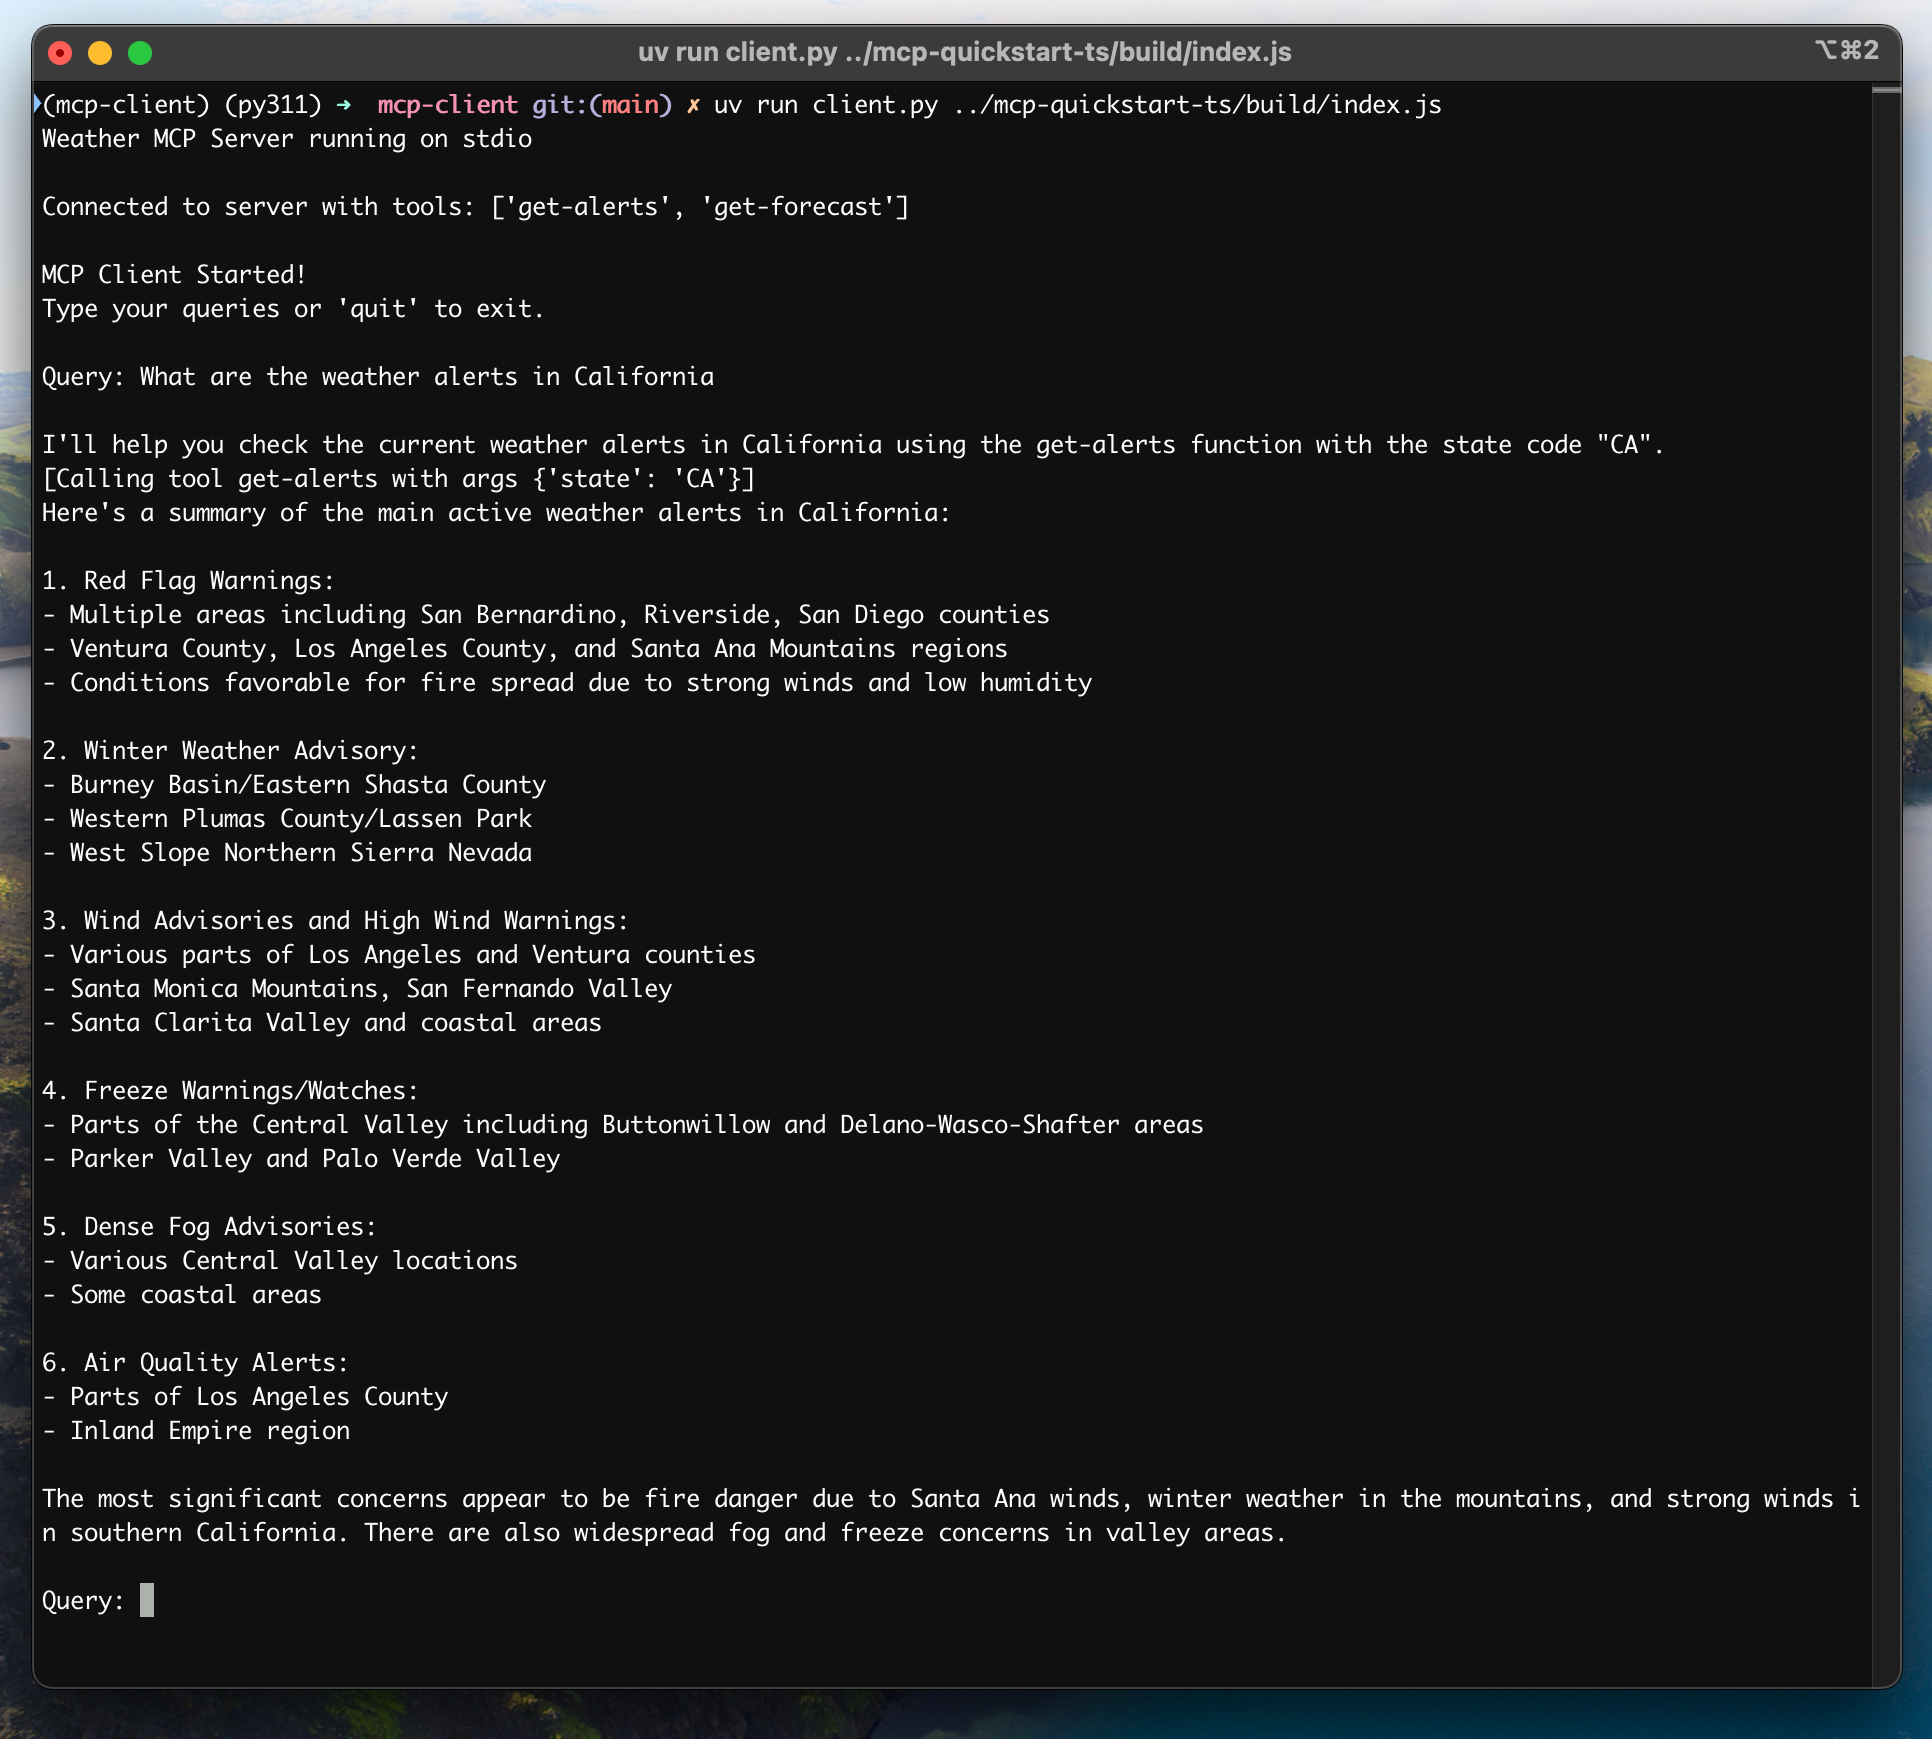
系统要求
开始之前,请确保您的系统满足以下要求:- Mac 或 Windows 计算机
- 已安装最新版本的Python
- 最新的
uv版本已安装
设置您的环境
首先,使用uv创建一个新的Python项目:.env 文件来存储它:.env 文件中:.env 添加到您的 .gitignore 中:请确保您的
ANTHROPIC_API_KEY保持安全!创建客户端
基础客户端结构
首先,让我们设置导入项并创建基本客户端类:服务器连接管理
接下来,我们将实现连接到MCP服务器的方法:查询处理逻辑
现在让我们添加处理查询和处理工具调用的核心功能:交互式聊天界面
接下来我们将添加聊天循环和清理功能:主要入口点
最后,我们将添加主要的执行逻辑:client.py文件可点击此处查看。核心组件详解
1. 客户端初始化
MCPClient类通过会话管理和API客户端进行初始化- 使用
AsyncExitStack以正确管理资源 - 配置Anthropic客户端以进行Claude交互
2. 服务器连接
- 支持Python和Node.js服务器
- 验证服务器脚本类型
- 设置适当的通信渠道
- 初始化会话并列出可用的工具
3. 查询处理
- 维护对话上下文
- 处理Claude的响应和工具调用
- 负责管理Claude与工具之间的消息流
- 将结果合并成一个连贯的响应
4. 交互式界面
- 提供一个简单的命令行界面
- 处理用户输入并显示响应
- 包括基础错误处理
- 允许优雅退出
5. 资源管理
- 适当清理资源
- 处理连接问题的错误处理
- 优雅关闭程序
常见自定义配置点
-
工具处理
- 修改
process_query()以处理特定工具类型 - 为工具调用添加自定义错误处理
- 实现工具特定的响应格式化
- 修改
-
响应处理
- 自定义工具结果的格式化方式
- 添加响应筛选或变换
- 实现自定义日志记录
-
用户界面
- 添加一个图形用户界面或网页界面
- 实现丰富的控制台输出
- 添加命令历史或自动补全
运行客户端
使用任何MCP服务器来运行您的客户端:如果继续使用服务器快速入门中的天气教程, 您的命令可能看起来像这样:
python client.py .../quickstart-resources/weather-server-python/weather.py- 连接指定服务器
- 列出可用工具
- 启动一个交互式聊天会话,您可以在其中:
- 输入查询
- 查看工具执行情况
- 获取Claude的回复
工作原理
当你提交一个查询时:- 客户端从服务器获取可用工具列表
- 您的查询将随工具描述一起发送至Claude
- Claude决定使用哪些工具(如果有的话)
- 客户端通过服务器执行任何请求的工具调用
- 结果被发送回Claude
- Claude 将提供自然语言响应
- 响应已显示给您
最佳实践
-
错误处理
- 始终使用 try-catch 块包装工具调用
- 提供有意义的错误消息
- 优雅处理连接问题
-
资源管理
- 使用
AsyncExitStack进行正确的清理 - 完成后关闭连接
- 处理服务器断开连接
- 使用
-
安全
- 安全地存储 API 密钥在
.env中 - 验证服务器响应
- 谨慎对待工具权限
- 安全地存储 API 密钥在
故障排除
服务器路径问题
- 再次确认您的服务器脚本路径是否正确
- 如果相对路径不起作用,请使用绝对路径
- Windows 用户请确保在路径中使用正斜杠(/)或转义反斜杠(\)
- 检查服务器文件具有正确的文件扩展名(.py 适合 Python 或 .js 适合 Node.js)
响应计时
- 首次响应可能最多需要30秒才能返回
- 这种情况很正常,发生在以下情况:
- 服务器初始化
- Claude处理查询期间
- 工具正在执行中
- 后续响应通常更快
- 在初始等待期间请勿打断进程
常见错误信息
如果你看到:FileNotFoundError: Check your server pathConnection refused: 确保服务器正在运行且路径正确工具执行失败: 验证工具所需的环境变量是否已设置超时错误:考虑在您的客户端配置中增加超时时间