使用MMDetection进行边界框目标检测
https://mmdetection.readthedocs.io/en/latest/
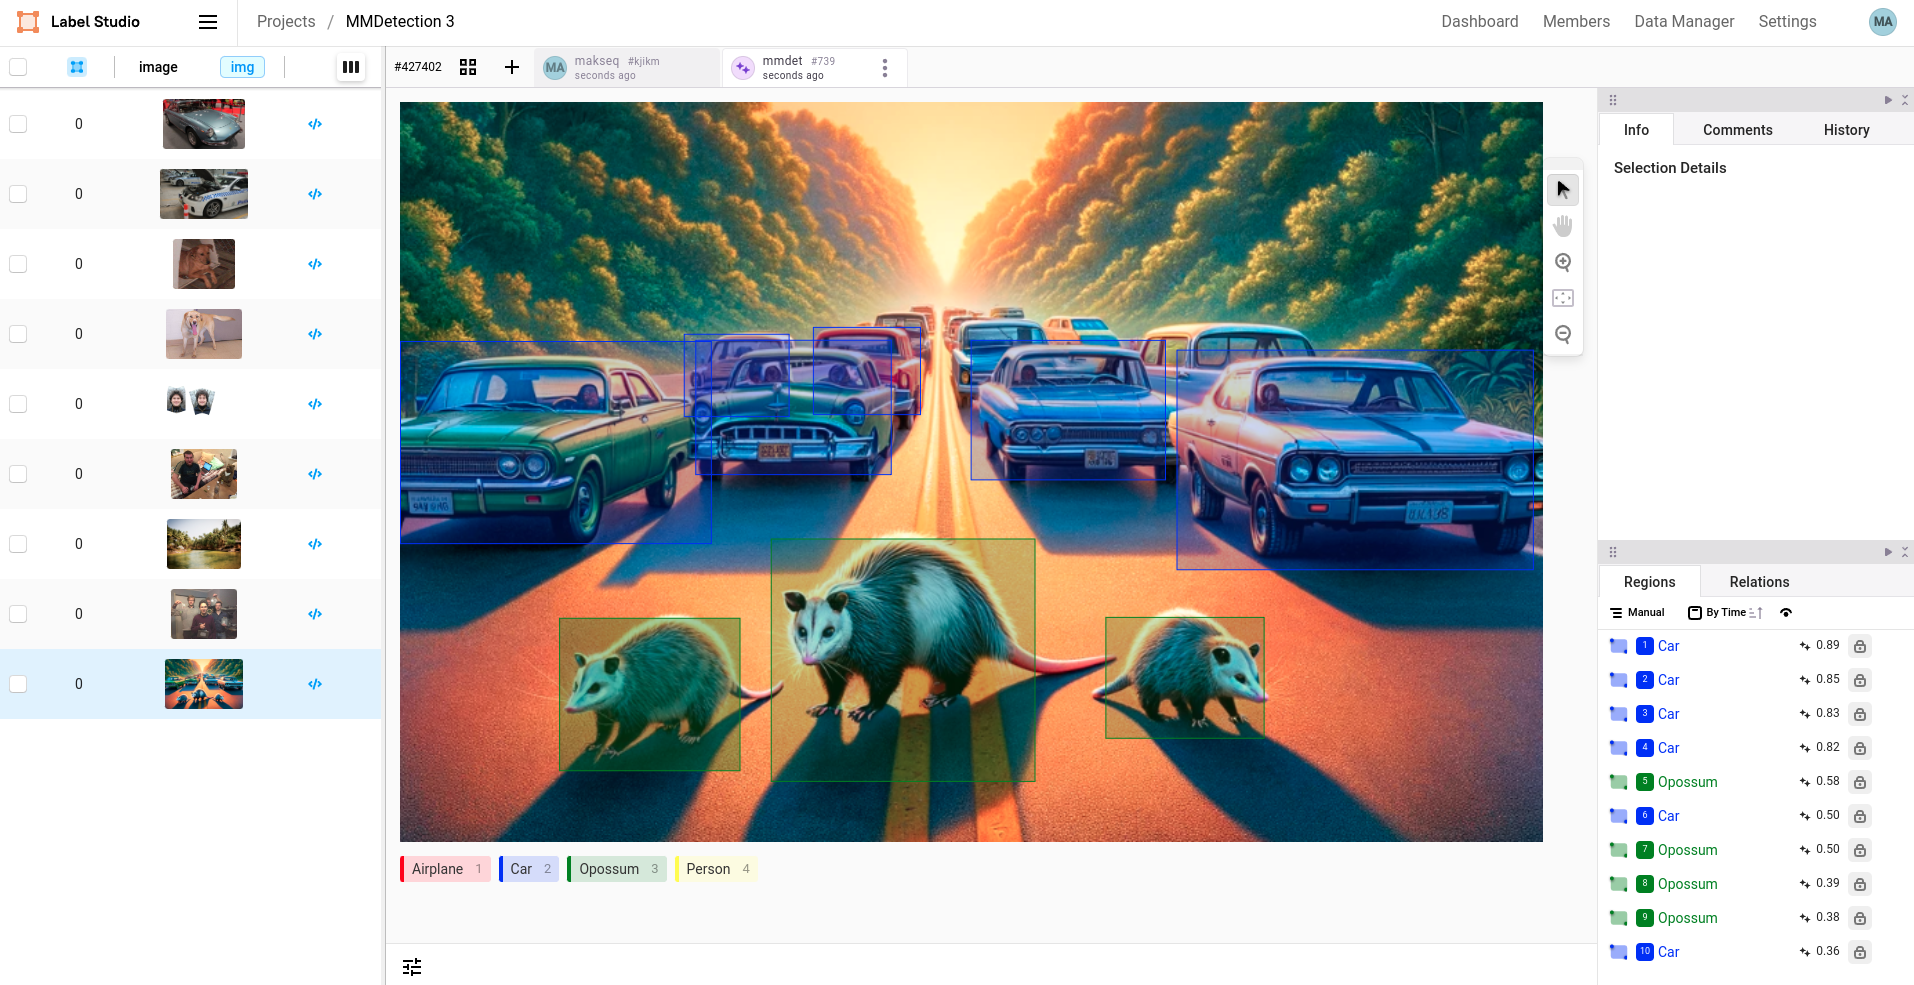
本示例演示了如何将MMDetection模型与Label Studio结合使用,通过边界框对图像进行标注。该模型基于YOLOv3架构,采用MobileNetV2主干网络,并在COCO数据集上进行了训练。
开始之前
在开始之前,您必须安装Label Studio ML后端。
本教程使用mmdetection-3示例。
快速使用
要快速使用,请在工作目录中运行 docker-compose:
docker-compose up -d参考教程
请参阅文档中的教程,了解如何构建自定义镜像及高级用法:
https://github.com/HumanSignal/label-studio/blob/develop/docs/source/tutorials/object-detector.md
标注配置
可以使用以下两种可能的标注配置变体:
在这个示例中,您可以直接提供标签,它们将自动映射到MMDetection模型的标签。
这适用于简单的使用场景。例如,Label Studio中的
Airplane会映射到MMDetection中的airplane。更复杂的标注配置,使用
predicted_values:
在这个示例中,您可以将多个标签合并为一个Label Studio标注。例如,Label Studio的Vehicle对应MMDetection中的"airplane"和"car"。
不使用Docker运行
强烈建议使用Docker,这是避免许多常见问题的最佳方式。
- 在您选择的目录中克隆Label Studio ML Backend仓库:
git clone https://github.com/HumanSignal/label-studio-ml-backend
cd label-studio-ml-backend/label_studio_ml/examples/mmdetection-3
使用
venv创建虚拟环境并通过 pip 安装所有依赖项:python -m venv ml-backend source ml-backend/bin/activate安装所有依赖项:
# Set environment variables
export PYTORCH="1.13.0"
export CUDA="11.6"
export CUDNN="8"

# To fix GPG key error when running apt-get update
apt-key adv --fetch-keys https://developer.download.nvidia.com/compute/cuda/repos/ubuntu1804/x86_64/3bf863cc.pub
apt-key adv --fetch-keys https://developer.download.nvidia.com/compute/machine-learning/repos/ubuntu1804/x86_64/7fa2af80.pub

# Update the base OS
apt-get update
apt install -y git

# Install system dependencies for opencv-python
apt-get install -y libgl1 libglib2.0-0

# Upgrade pip
pip install -U pip

# Install base requirements
pip install -r requirements-base.txt

# Install custom requirements
pip install -r requirements.txt

# Mim install commands
pip install mim
mim install mmengine==0.10.3
mim install mmdet==3.3.0
mim download mmdet --config yolov3_mobilenetv2_8xb24-320-300e_coco --dest .- 设置环境变量
# set the log level for the model server
export LOG_LEVEL=DEBUG
# specify the model directory (likely you don't need to change this)
export MODEL_DIR=
# mmdetection model parameters
export CHECKPOINT_FILE=yolov3_mobilenetv2_320_300e_coco_20210719_215349-d18dff72.pth
export CONFIG_FILE=yolov3_mobilenetv2_8xb24-320-300e_coco.py
export DEVICE=cpu
export SCORE_THRESHOLD=0.5

# Specify the Label Studio URL and API key to access
# uploaded, local storage and cloud storage files.
# Do not use 'localhost' as it does not work within Docker containers.
# Use prefix 'http://' or 'https://' for the URL always.
# Determine the actual IP using 'ifconfig' (Linux/Mac) or 'ipconfig' (Windows).
export LABEL_STUDIO_URL=<your-ls-hostname>
export LABEL_STUDIO_API_KEY=<your-ls-api-key>- 运行以下命令启动您的ML后端
label-studio-ml start --root-dir .. mmdetection-3或者使用gunicorn运行Python web应用
gunicorn --preload --bind :9090 --workers 1 --threads 1 --timeout 0 _wsgi:app- Use this guide to find out your access token: https://labelstud.io/guide/api.html
- 当出现大量不需要的检测结果时,您可以调高
SCORE_THRESHOLD参数值;若未检测到任何结果,则可降低该参数值。