%%capture
!pip install statsforecast s3fs fastparquet间歇性数据
在本笔记本中,我们将使用M5数据集为间歇性或稀疏数据实现模型。
间歇性或稀疏数据的非零观测值非常少。这种类型的数据很难预测,因为零值增加了对数据中潜在模式的不确定性。此外,一旦发生非零观测值,其大小可能会有相当大的变化。间歇性时间序列在许多行业中很常见,包括金融、零售、运输和能源。考虑到这种系列的普遍性,已经开发了专门的方法来预测它们。第一个是来自Croston (1972),随后是几种变体和不同的聚合框架。
NeuralForecast 的模型可以通过使用 Poisson 分布损失来训练稀疏或间歇性时间序列。到本教程结束时,您将对这些模型及其使用方法有一个良好的理解。
大纲:
- 安装库
- 加载和探索数据
- 训练间歇性数据的模型
- 执行交叉验证
为了减少计算时间,建议使用GPU。在使用Colab时,请不要忘记激活它。只需前往 运行时>更改运行时类型 并选择GPU作为硬件加速器。
1. 安装库
我们假设您已经安装了 NeuralForecast。如果没有,请查看该指南了解 如何安装 NeuralForecast。
使用 pip install neuralforecast 安装必要的包。
%%capture
!pip install git+https://github.com/Nixtla/neuralforecast.git
2. 加载和探索数据
在这个例子中,我们将使用M5 竞赛 数据集的一个子集。每个时间序列代表了某个产品在特定沃尔玛商店的单位销售。在这个层面(产品-商店),大部分数据都是间歇性的。 我们首先需要导入数据。
import pandas as pd
from statsforecast import StatsForecast as sf
/usr/local/lib/python3.8/dist-packages/statsforecast/core.py:21: TqdmExperimentalWarning: Using `tqdm.autonotebook.tqdm` in notebook mode. Use `tqdm.tqdm` instead to force console mode (e.g. in jupyter console)
from tqdm.autonotebook import tqdmY_df = pd.read_parquet('https://m5-benchmarks.s3.amazonaws.com/data/train/target.parquet')
Y_df = Y_df.rename(columns={
'item_id': 'unique_id',
'timestamp': 'ds',
'demand': 'y'
})
Y_df['ds'] = pd.to_datetime(Y_df['ds'])为了简单起见,我们将只保留一个类别。
Y_df = Y_df.query('unique_id.str.startswith("FOODS_3")')
Y_df['unique_id'] = Y_df['unique_id'].astype(str)
Y_df = Y_df.reset_index(drop=True)使用StatsForecast类中的plot方法绘制一些序列。该方法会打印出数据集中8个随机序列,对于基本的EDA非常有用。
sf.plot(Y_df, engine='matplotlib')
3. 为间歇性数据训练模型
from ray import tune

from neuralforecast import NeuralForecast
from neuralforecast.auto import AutoNHITS, AutoTFT
from neuralforecast.losses.pytorch import DistributionLoss
每个 Auto 模型都包含一个在多个大规模数据集上进行了广泛测试的默认搜索空间。此外,用户可以定义针对特定数据集和任务的专用搜索空间。
首先,我们为 AutoNHITS 和 AutoTFT 模型创建一个自定义搜索空间。搜索空间通过字典指定,其中键对应于模型的超参数,而值是一个 Tune 函数,用于指定超参数将如何被采样。例如,使用 randint 来均匀采样整数,使用 choice 来采样列表中的值。
config_nhits = {
    "input_size": tune.choice([28, 28*2, 28*3, 28*5]),              # 输入窗口长度
    "n_blocks": 5*[1],                                              # 输入窗口长度
    "mlp_units": 5 * [[512, 512]],                                  # 输入窗口长度
    "n_pool_kernel_size": tune.choice([5*[1], 5*[2], 5*[4],
                                      [8, 4, 2, 1, 1]]),            # 最大池化核大小
    "n_freq_downsample": tune.choice([[8, 4, 2, 1, 1],
                                      [1, 1, 1, 1, 1]]),            # 插值表达能力比率
    "learning_rate": tune.loguniform(1e-4, 1e-2),                   # 初始学习率
    "scaler_type": tune.choice([None]),                             # 标量类型
    "max_steps": tune.choice([1000]),                               # 最大训练迭代次数
    "batch_size": tune.choice([32, 64, 128, 256]),                  # 批量中的系列数量
    "windows_batch_size": tune.choice([128, 256, 512, 1024]),       # 批处理中的窗口数量
    "random_seed": tune.randint(1, 20),                             # 随机种子
}

config_tft = {
        "input_size": tune.choice([28, 28*2, 28*3]),                # 输入窗口长度
        "hidden_size": tune.choice([64, 128, 256]),                 # 嵌入和编码器的大小
        "learning_rate": tune.loguniform(1e-4, 1e-2),               # 初始学习率
        "scaler_type": tune.choice([None]),                         # 标量类型
        "max_steps": tune.choice([500, 1000]),                      # 最大训练迭代次数
        "batch_size": tune.choice([32, 64, 128, 256]),              # 批量中的系列数量
        "windows_batch_size": tune.choice([128, 256, 512, 1024]),   # 批处理中的窗口数量
        "random_seed": tune.randint(1, 20),                         # 随机种子
}要实例化一个Auto模型,您需要定义:
h:预测时间范围。loss:来自neuralforecast.losses.pytorch的训练和验证损失。config:超参数搜索空间。如果为None,Auto类将使用预定义的建议超参数空间。search_alg:搜索算法(来自tune.search),默认为随机搜索。有关不同搜索算法选项的更多信息,请参阅https://docs.ray.io/en/latest/tune/api_docs/suggestion.html。num_samples:探索的配置数量。
在此示例中,我们将时间范围h设置为28,使用Poisson分布损失(适合计数数据)进行训练和验证,并使用默认的搜索算法。
nf = NeuralForecast(
    models=[
        AutoNHITS(h=28, config=config_nhits, loss=DistributionLoss(distribution='Poisson', level=[80, 90], return_params=False), num_samples=5),
        AutoTFT(h=28, config=config_tft, loss=DistributionLoss(distribution='Poisson', level=[80, 90], return_params=False), num_samples=2),
    ],
    freq='D'
)样本数量 num_samples 是一个关键参数!较大的值通常会产生更好的结果,因为我们在搜索空间中探索更多的配置,但这会增加训练时间。较大的搜索空间通常需要更多的样本。作为一般规则,我们建议将 num_samples 设置为高于 20。
接下来,我们使用 Neuralforecast 类来训练 Auto 模型。在此步骤中,Auto 模型将自动执行超参数调优,训练多个具有不同超参数的模型,在验证集上生成预测并进行评估。根据验证集上的错误选择最佳配置。只有最佳模型被存储并在推断时使用。
%%capture
nf.fit(df=Y_df)接下来,我们使用predict方法利用最佳超参数预测接下来的28天。
fcst_df = nf.predict()fcst_df.columns = fcst_df.columns.str.replace('-median', '')sf.plot(Y_df, fcst_df, engine='matplotlib', max_insample_length=28 * 3)
4. 交叉验证
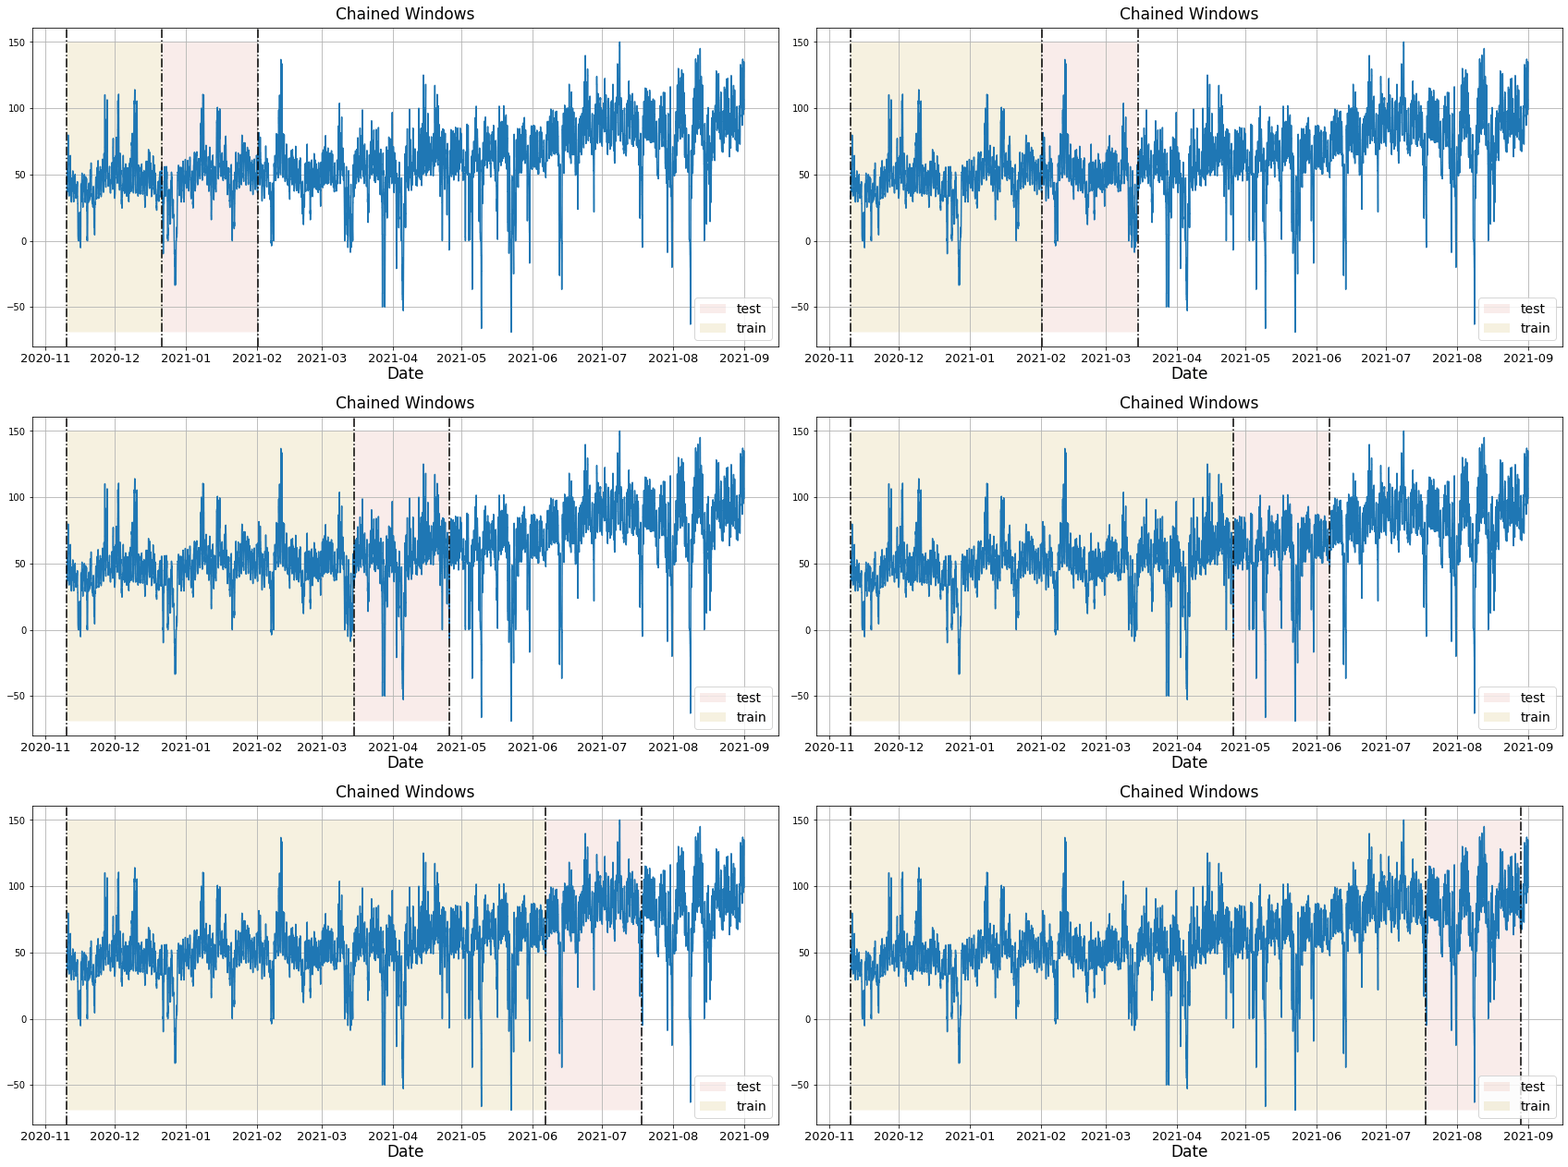
时间序列交叉验证是一种评估模型在过去表现如何的方法。它通过在历史数据上定义滑动窗口,并预测随后的一段时间来工作。

NeuralForecast 提供了一种快速且易于使用的时间序列交叉验证实现。
NeuralForecast 类中的 cross_validation 方法接受以下参数。
df: 训练数据框step_size(int): 每个窗口之间的步长。换句话说:您希望多频繁运行预测过程。n_windows(int): 用于交叉验证的窗口数量。换句话说:您希望评估过去多少次预测过程。
nf = NeuralForecast(
    models=[
        AutoNHITS(h=28, config=config_nhits, loss=DistributionLoss(distribution='Poisson', level=[80, 90], return_params=False), num_samples=5),
        AutoTFT(h=28, config=config_tft, loss=DistributionLoss(distribution='Poisson', level=[80, 90], return_params=False), num_samples=2),
    ],
    freq='D'
)%%capture
cv_df = nf.cross_validation(Y_df, n_windows=3, step_size=28)cv_df对象是一个新的数据框,其中包括以下列:
unique_id索引:(如果您不喜欢使用索引,可以运行forecasts_cv_df.resetindex())ds:日期戳或时间索引cutoff:n_windows的最后一个日期戳或时间索引。如果n_windows=1,则一个唯一的截止值;如果n_windows=2,则两个唯一的截止值。y:真实值"model":包含模型名称和拟合值的列。
# cv_df.columns = cv_df.columns.str.replace('-median', '')cv_df.head()| unique_id | ds | cutoff | AutoNHITS | AutoNHITS-lo-90.0 | AutoNHITS-lo-80.0 | AutoNHITS-hi-80.0 | AutoNHITS-hi-90.0 | AutoTFT | AutoTFT-lo-90.0 | AutoTFT-lo-80.0 | AutoTFT-hi-80.0 | AutoTFT-hi-90.0 | y | |
|---|---|---|---|---|---|---|---|---|---|---|---|---|---|---|
| 0 | FOODS_3_001_CA_1 | 2016-02-29 | 2016-02-28 | 0.0 | 0.0 | 0.0 | 2.0 | 2.0 | 1.0 | 0.0 | 0.0 | 2.0 | 2.0 | 0.0 |
| 1 | FOODS_3_001_CA_1 | 2016-03-01 | 2016-02-28 | 0.0 | 0.0 | 0.0 | 2.0 | 2.0 | 1.0 | 0.0 | 0.0 | 2.0 | 2.0 | 1.0 |
| 2 | FOODS_3_001_CA_1 | 2016-03-02 | 2016-02-28 | 0.0 | 0.0 | 0.0 | 2.0 | 2.0 | 1.0 | 0.0 | 0.0 | 2.0 | 2.0 | 1.0 |
| 3 | FOODS_3_001_CA_1 | 2016-03-03 | 2016-02-28 | 0.0 | 0.0 | 0.0 | 2.0 | 2.0 | 1.0 | 0.0 | 0.0 | 2.0 | 2.0 | 0.0 |
| 4 | FOODS_3_001_CA_1 | 2016-03-04 | 2016-02-28 | 0.0 | 0.0 | 0.0 | 2.0 | 2.0 | 0.0 | 0.0 | 0.0 | 2.0 | 2.0 | 0.0 |
for cutoff in cv_df['cutoff'].unique():
    sf.plot(Y_df,
            cv_df.query('cutoff == @cutoff').drop(columns=['y', 'cutoff']),
            max_insample_length=28 * 5,
            unique_ids=['FOODS_3_001_CA_1'],
            engine='matplotlib')


评估
在本节中,我们将使用均方误差(MSE)指标评估每个模型在每个交叉验证窗口的性能。
from neuralforecast.losses.numpy import mse, maedef evaluate(df):
eval_ = {}
models = df.loc[:, ~df.columns.str.contains('unique_id|y|ds|cutoff|lo|hi')].columns
for model in models:
eval_[model] = {}
for metric in [mse, mae]:
eval_[model][metric.__name__] = metric(df['y'].values, df[model].values)
eval_df = pd.DataFrame(eval_).rename_axis('metric')
return eval_dfcv_df.groupby('cutoff').apply(lambda df: evaluate(df))| AutoNHITS | AutoTFT | ||
|---|---|---|---|
| cutoff | metric | ||
| 2016-02-28 | mse | 10.274085 | 15.240116 |
| mae | 1.445398 | 1.511810 | |
| 2016-03-27 | mse | 9.533789 | 14.307356 |
| mae | 1.445806 | 1.520717 | |
| 2016-04-24 | mse | 9.561473 | 14.719155 |
| mae | 1.455149 | 1.534106 |
参考文献
Give us a ⭐ on Github